How to Make Onigiri at Home
Posted: Jan. 18, 2026
Onigiri (おにぎり), also known as Japanese rice balls, are a simple, comforting food that’s been enjoyed in Japan for centuries. They’re portable, customizable, and surprisingly easy to make at home with just a few ingredients. Whether you want a quick snack, a lunchbox staple, or an introduction to Japanese home cooking, onigiri are a great place to start.
What Is Onigiri?
Onigiri are hand-shaped rice balls, usually filled with savory ingredients and often wrapped in nori (seaweed). Unlike sushi, the rice for onigiri is not seasoned with vinegar—just plain, fluffy rice lightly salted on the outside.
Ingredients
For the rice
- 2 cups Japanese short-grain rice
- 2½ cups water (or follow your rice cooker’s instructions)
- Salt (fine sea salt works best)
Optional fillings
Choose one or mix and match:
- Tuna mixed with mayonnaise
- Umeboshi (pickled plum)
- Teriyaki chicken
- Salmon (grilled or canned)
- Kombu no tsukudani (simmered seaweed)
- Spam (pan-fried)
For wrapping
- Nori sheets, cut into strips
Equipment You’ll Need
- Rice cooker or pot with a lid
- Bowl of water mixed with a pinch of salt (to keep rice from sticking)
- Clean hands or plastic wrap
Step 1. Cook the Rice
Rinse the rice under cold water until the water runs mostly clear. Cook it using a rice cooker or stovetop method. Once done, let it steam for about 10 minutes, then gently fluff with a rice paddle.
Tip: Fresh, warm rice works best. Cold rice is harder to shape.
Step 2. Prepare the Filling
Make sure your filling is:
- Cooked (if needed)
- Well-seasoned
- Not too wet (excess moisture can make the onigiri fall apart)
Set aside small portions—about 1 to 2 teaspoons per onigiri.
Step 3. Wet and Salt Your Hands
Lightly wet your hands with the saltwater mixture. This prevents sticking and helps preserve the onigiri.
Step 4. Shape the Onigiri
- Scoop about ½ cup of warm rice into your hand.
- Make a small indentation in the center.
- Add the filling.
- Gently cover the filling with rice.
- Lightly shape into a triangle or round form—don’t squeeze too hard.
The goal is soft and fluffy, not compacted.
Step 5. Wrap with Nori
Wrap the onigiri with a strip of nori just before eating to keep it crisp, or wrap it fully if packing it to go.
Common Shapes
- Triangle: The most traditional and popular shape
- Round: Easy and beginner-friendly
- Cylinder: Often used for bento boxes
All shapes are correct—choose what feels natural.
Storage Tips
- Onigiri are best eaten the same day.
- If storing for several hours, keep them at room temperature (traditional method) without mayonnaise-based fillings.
- Refrigeration can harden the rice, but reheating gently can help.
Fun Variations to Try
- Mix furikake seasoning directly into the rice
- Grill the onigiri with a little oil and soy sauce for yaki-onigiri
- Use mixed-grain or brown rice for a modern twist
Making onigiri at home is simple, relaxing, and deeply satisfying. With just rice, salt, and your favorite fillings, you can create a meal that’s both humble and endlessly customizable. Once you’ve mastered the basics, feel free to experiment and make onigiri your own.
Happy cooking!
Read more!
 @alxlynnhd
We Tried Bachan's Japanese Style BBQ So You Don't Have To.
If you’ve walked through Costco, Target, or scrolled food TikTok, you’ve probably seen the bright…
Topic: Food
@alxlynnhd
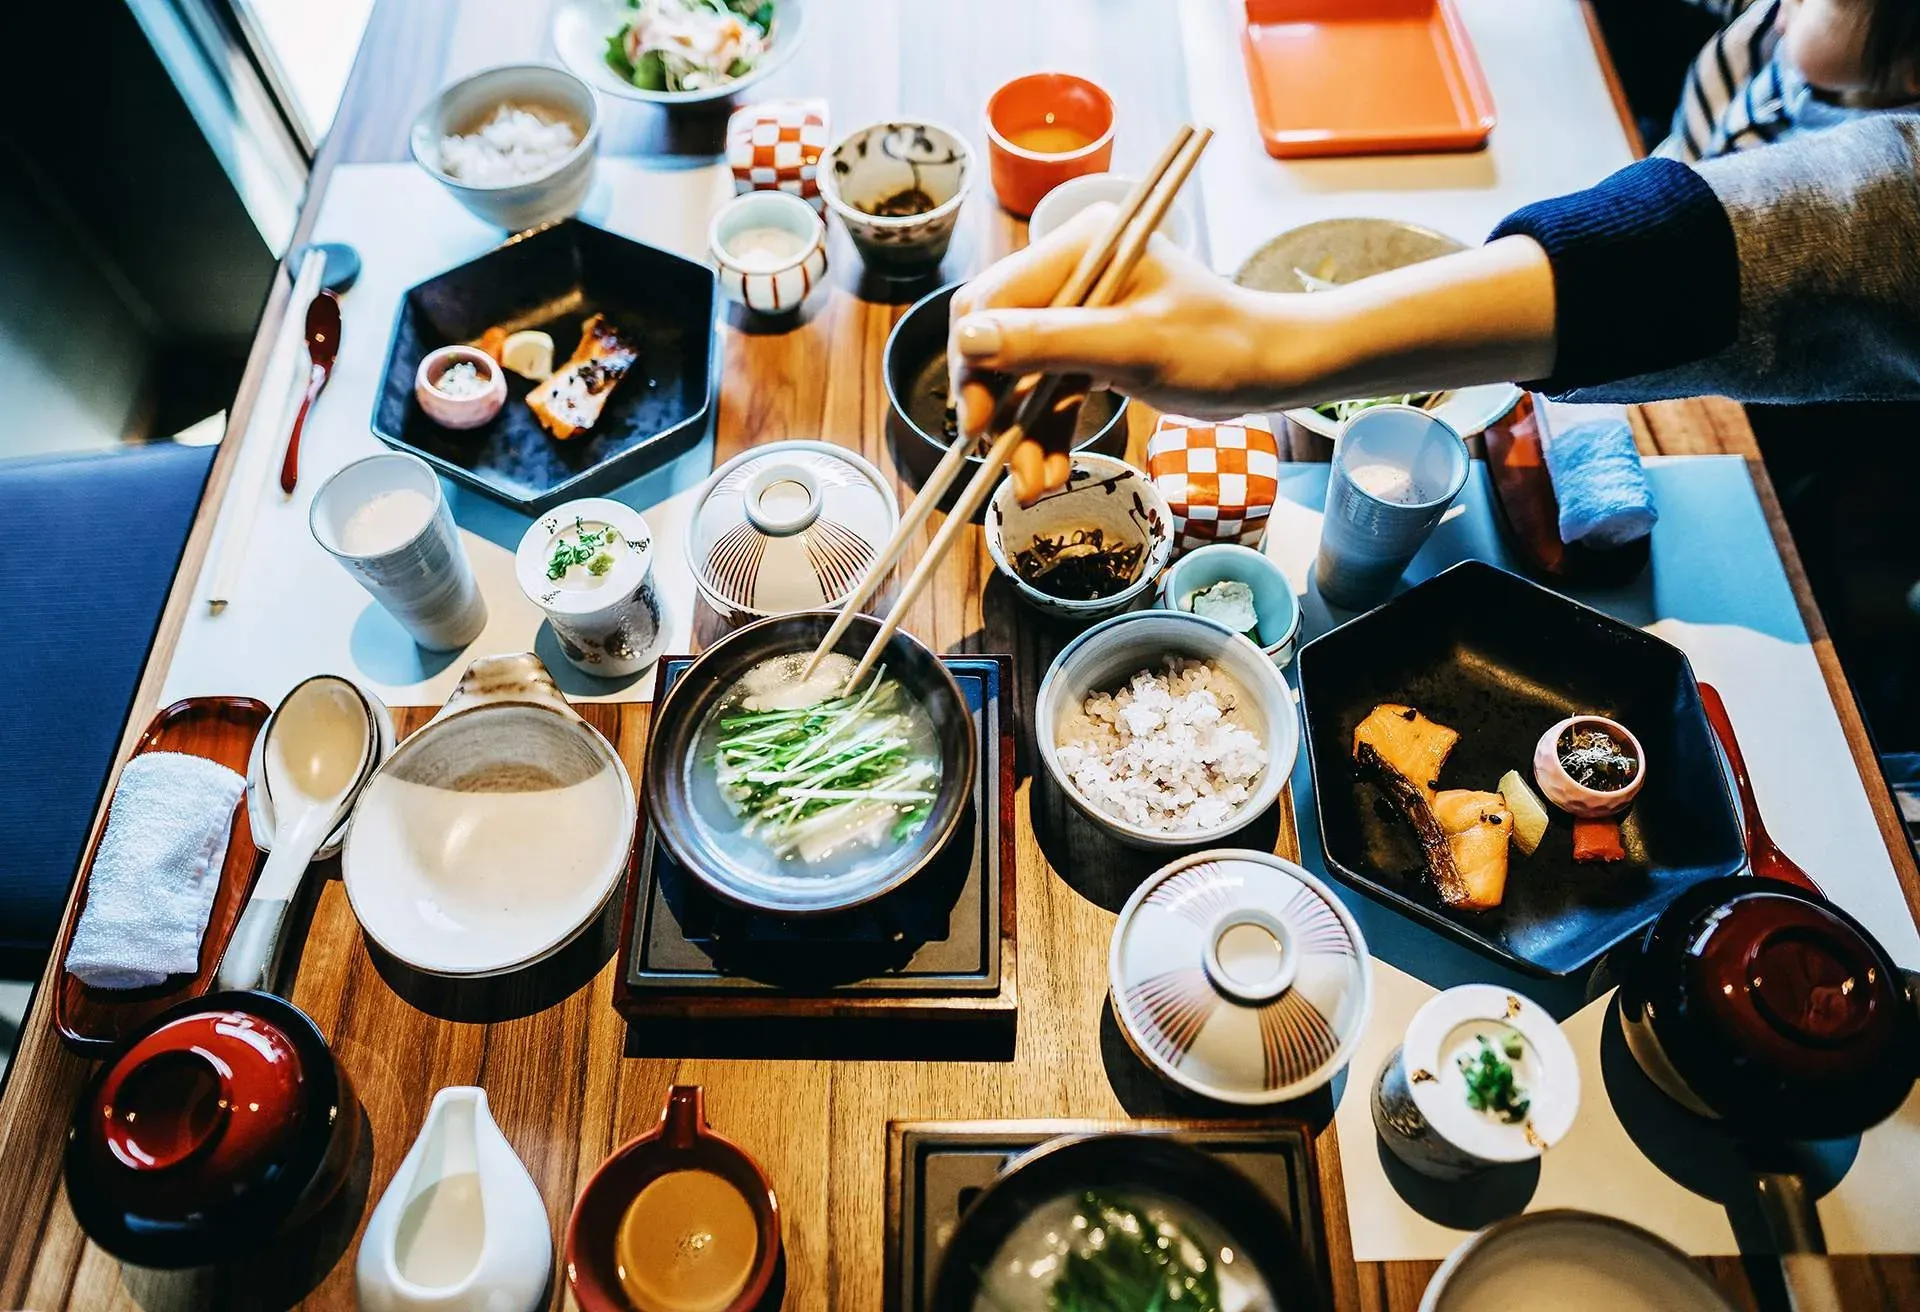
The Real Reason Why Japanese Food Is So Delicious
When people think of Japanese food, images of beautifully plated sushi, comforting bowls of ramen…
Topic: Food
@alxlynnhd

Japanese Convenience Store Foods You Absolutely Must Try
When people think of convenience store food, they often imagine bland snacks and microwaved meals…
Topic: Food
@alxlynnhd
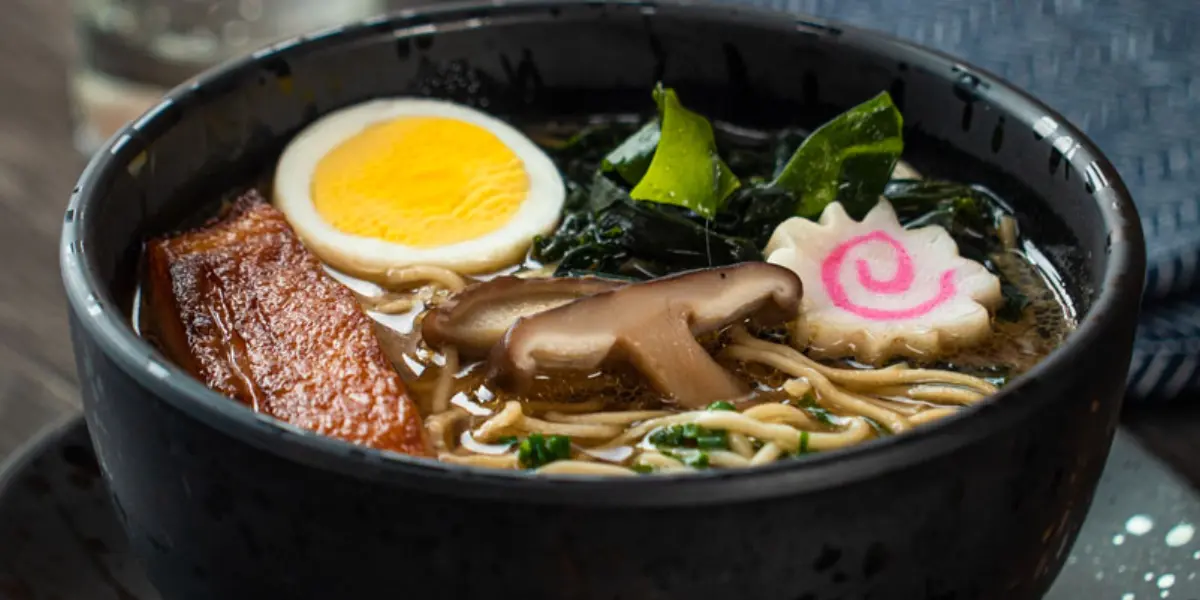
Tips for Adding Even More Umami to Your Ramen
Ramen is already famous for its deep, savory flavors, but sometimes you want to take things to the…
Topic: Food
@alxlynnhd
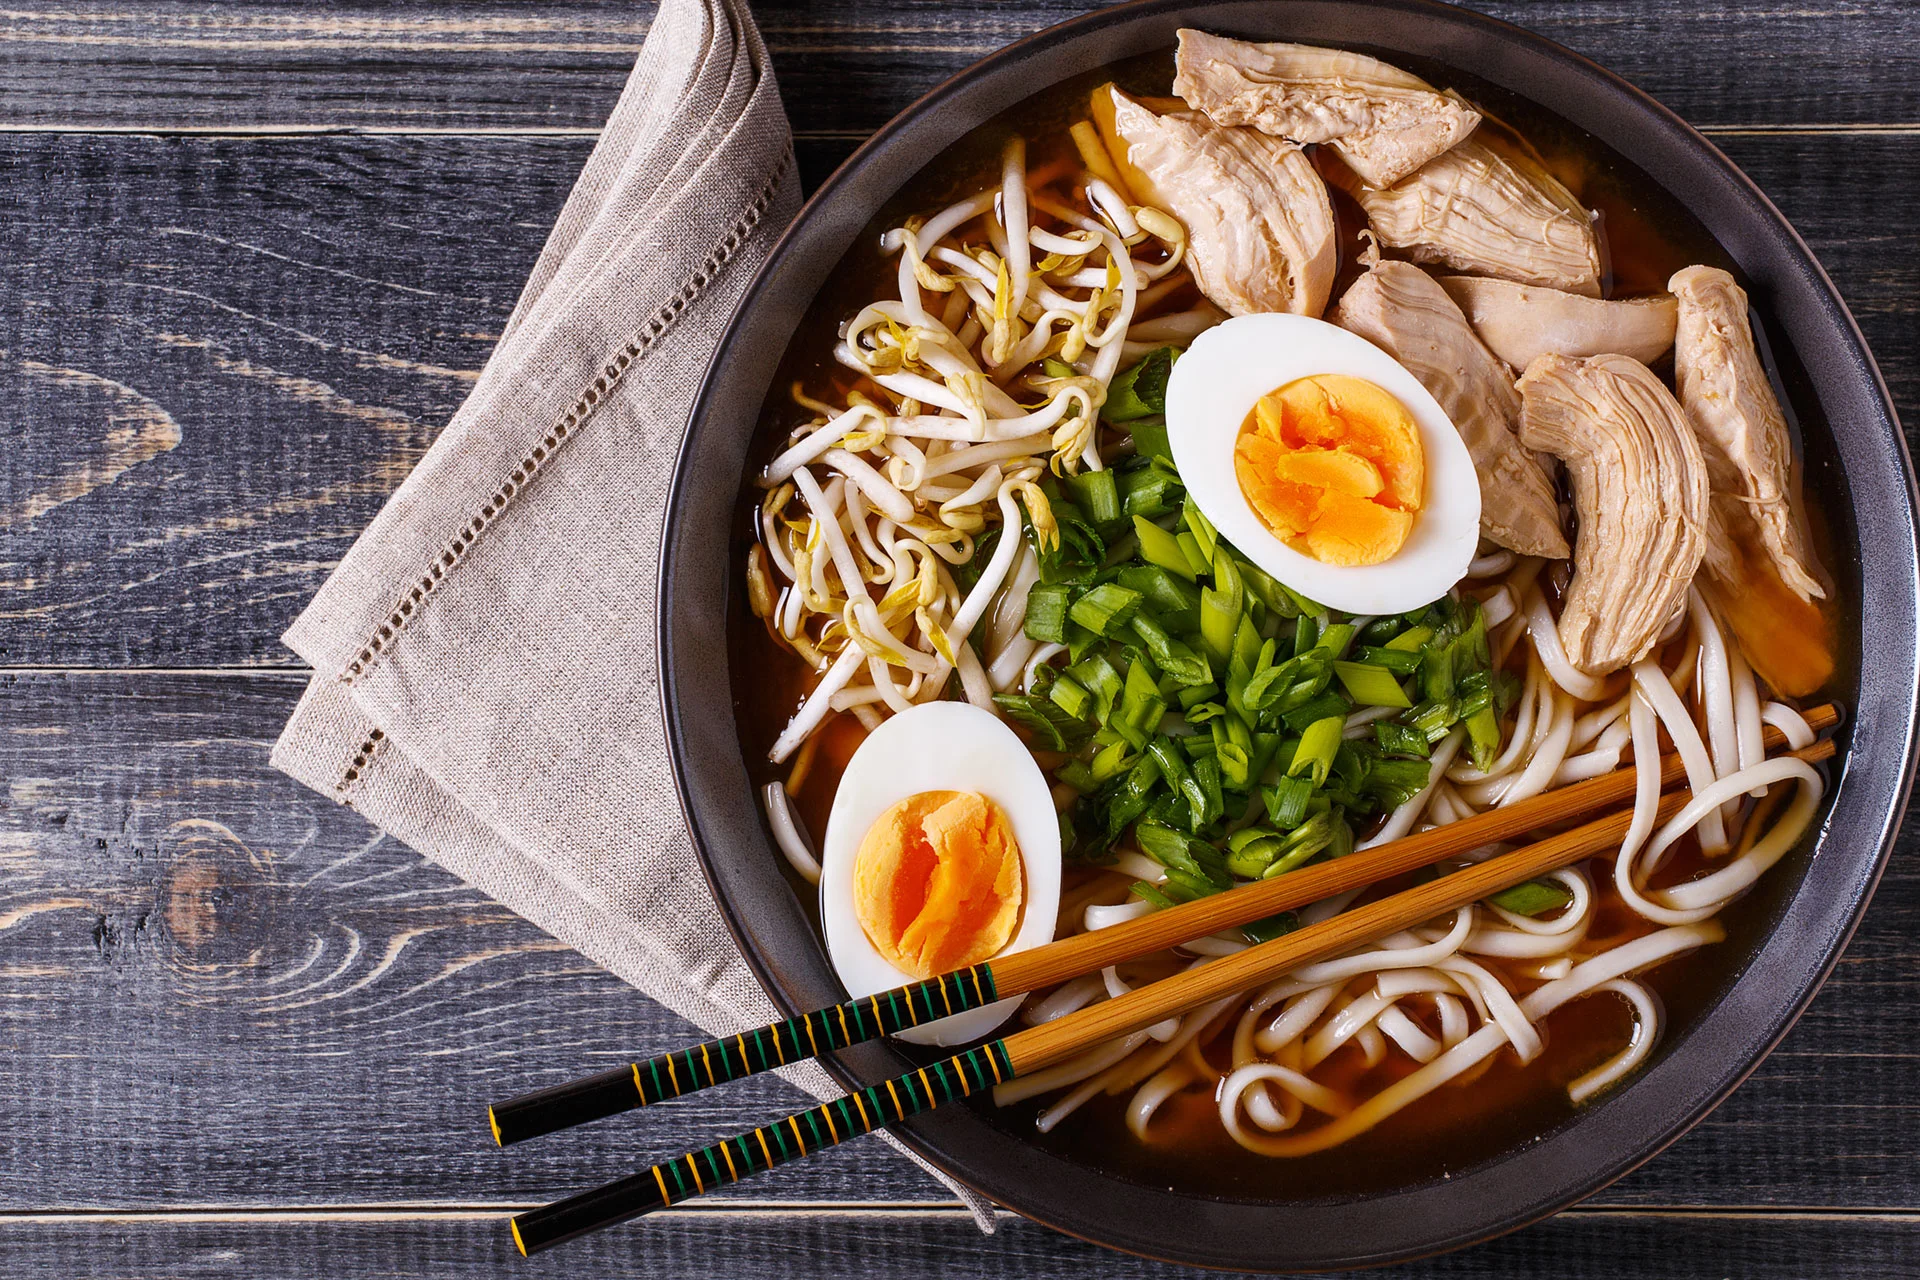
Let's learn how to make authentic Japanese cuisine.
Japanese cuisine is celebrated worldwide for its elegance, simplicity, and deep respect for natural…
Topic: Food
@alxlynnhd
How to Properly Make and Store Sushi
Sushi is a delicate and flavorful dish that combines fresh ingredients, precise techniques, and…
Topic: Food